|
|
|||||
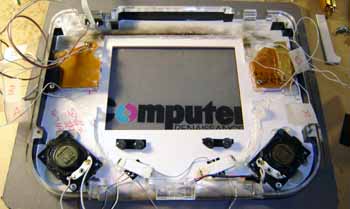
The case for the unit was cut out of my typical 1/4" acrylic and engraving plastic. Once assembled I started stuffing parts inside, starting with the controls and speaker:
I was asked to use Japanese Super Famicon buttons for the unit, so I did... right down to the actual PCB they used. I guess that's as close to the Super Famicon controller as I could get! Next up is the 5" PSone screen. This is all added in layers you see...
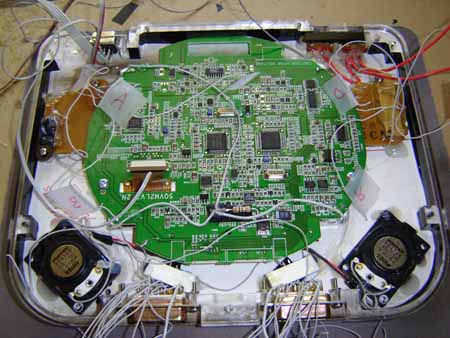
As parts are added some things are wired, typically grounds as it's common for everything. At the bottom of the photo you can see the joystick connectors. This unit can take 2, count 'em TWO Neo Geo joysticks or gamepads. There's also a SCART connector. I believe the idea is it can double as a home system - at least that's what the person contracting the job said. It was a bit tricky getting all that in there but as usual I enjoyed the challenge. Next I attached the MVS board to all the guts in the front half of the case. Most of it was the joystick ports. Quite a mess but oh well, it's INSIDE the unit so who cares?
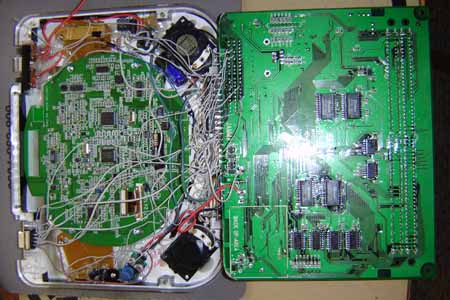
The final bit was to fold the MVS board over onto the front case and its guts:
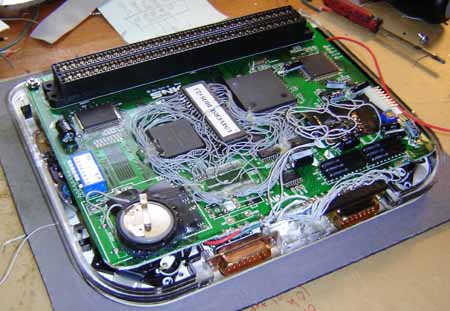
I also added a coin battery holder (accessible through a panel) so the BIOS battery can be changed if need be. The rear half of the case contains the battery clip and external power jack. It is set on the assembly seen above and screwed shut. The end! Well I hope this "making of" wasn't too boring for everyone. If you have any questions about specifics of the Neo Geo hacking go ahead and shoot them my way, I'm also putting a bit RE: the stereo mod in the Downloads section (under "Videogames") as mentioned before. Here's some more photos of the finished unit:
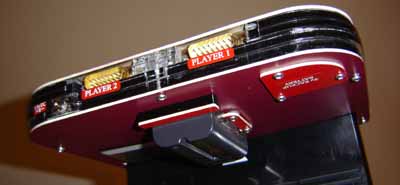
Base of unit, with Player 1 & 2 joystick posts and auxiliary power input jack.
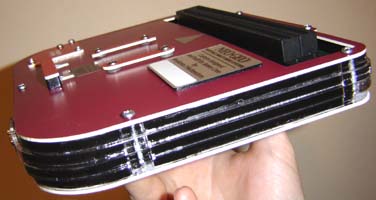
Side view of unit. It's only 1" thick! I mean thin!
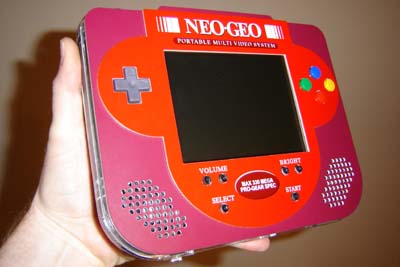
Another view of
the front. Go back
to HOME/NEWS page
|
|||||