|
|
|||||
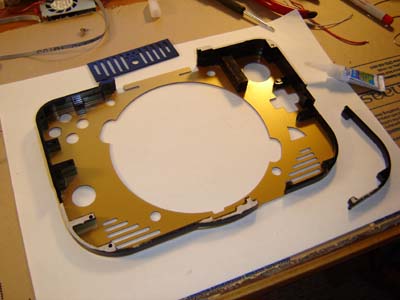
The 1/4" black acrylic side walls were stacked and superglued to each other and the 1/16" thick plates, as shown below. This creates the "body" of the case, as seen below:
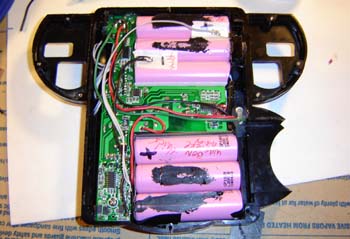
At the top you can see the silver grate thing. This is the air exit vent. The idea is that a small fan brings fresh air into the case from the bottom. It then runs over the heatsink, which is also under the DVD drive. The spinning DVD adds more air flow which also helps to push the existing air up. Finally, the hopefully now-hot air blows out the top of the unit. This should come in handy during the sub-Artic Wisconsin winters. Maybe it could even cook a brat... Next up I had to tear apart the battery pack (which was HARD, that thing was sealed tighter than the JFK files) and install it in the back of the unit as shown below. The shoulder buttons were also part of this assembly. The more things you can combine together the easier it is to assemble.
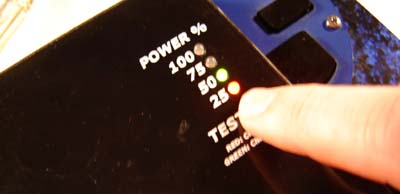
Note how the batteries have circuitry with them. I assume this is because they're Lithium Ion and not Ni-CD el cheapos. There's (2) regulators and heatsinks in this circuitry so I provided plenty of air vents (a lot more than the original battery case had, which was ZERO. That thing got hot!) The battery pack had some LED's on it that light up to indicate power levels. I rewired them and worked it into the case of the PS2p. Since this is on the back of the unit you either need to flip it around during play to check the battery, ask a friend to check it or play in front of a mirror (Your choice)
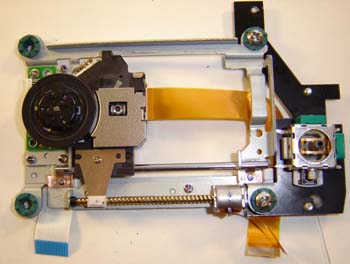
Here's the DVD drive for the PS2. It's quite small and compact (and redundant) which was a relief to me - the original PS2 drive was somewhat cumbersome. (The word "Cumbersome" always makes me think of cucumbers...) It mounts to the same piece of plastic the right analog stick does. What happens is I try to find as many parts of the same depth and mount them together. Both the analog stick and the drive mounts had to be .5" from the front of the case so here they're combined. I also made a custom analog "knob" for the right-hand stick so it wouldn't bump into anything. It has less room to move than the main left stick.
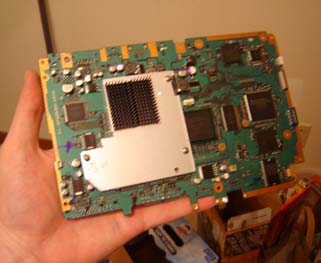
The DVD access cable (lower right gold thing on photo) can still reach the original jack which is handy because it'd be hard as heck to rewire. The other 2 cables from the drive have to be rewired but they weren't too difficult... only slightly painful to the rear. This is the PS2 board with the new heatsink on the CPU. I had a piece of 1/8" aluminum cut, which sticks to the chip with thermal tape and also has an off-the-shelf heatsink on top of that. Since there was some mushy foam stuff on top of the chip I needed to use screws going through the motherboard to pull the heatsink against the chip, rather than just have it sit atop it. This allows for better heat... flowage and also makes the heat sink become part of the motherboard for a nice, compact unit.
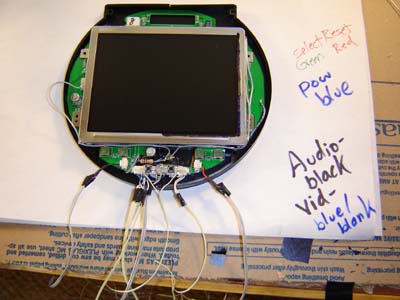
Here's a hacked-up PSone screen with a bunch of rewiring, laying in one half of the screen case. I'm gonna use the RGB signals off the PS2 for this project. That way the 5" display will be really sharp! Note how I've carefully color-coded the wires so I'll know what they are later on. I predict NO problems with that whatsoever!
Next: Wiring the
Unit!
|
|||||